Twikoo
Twikoo, a concise, safe, and free static website commenting system developed based on Tencent Cloud.
View details:
https://github.com/imaegoo/twikoo
https://twikoo.js.org/
Ex. Tencent Cloud CloudBase usage tutorial, please check Twikoo documentation for other methods
If you plan to deploy to an existing cloud development environment, start directly with step 3.
Go to the CloudBase event page, scroll to the "New User Exclusive" section, select a suitable package (usually a 0 yuan package), and click "Immediately". Buy", and follow the prompts to create a good environment. ::: tip
It is recommended to create a Shanghai environment. If you choose Guangzhou environment, you need to configure
region: ap-guangzhouEnvironment name is free to fill in
It is recommended to choose the billing method
yearly and monthly, the package versionbasic class 1, no charge will be charged if the free quota is exceededIf prompted to choose "Apply Template", choose "Empty Template" :::
Go to Environment - Login Authorization, enable "Anonymous Login"
Go to Environment-Security Configuration, and add the website domain name to "WEB security domain name"
Go to Environment - Cloud Function, click "Create Cloud Function"
Please fill in the function name:
twikoo, the creation method please select:blank function, the operating environment please select:Nodejs 10.15, the function memory please select:128MB, click "Next"Clear the sample code in the input box, copy the following code, paste it into the "Function Code" input box, and click "OK"
After the creation is complete, click "twikoo" to enter the cloud function details page, enter the "Function Code" tab, click "File - New File", enter
package.json, and press EnterCopy the following code, paste it into the code box, and click "Save and Install Dependencies"
Fill in the environment ID
env_idin the Redefine theme configuration fileIf the Guangzhou environment is selected, the value of
regionneeds to be filled in asap-guangzhou. IfVercelis used,regioncan be left empty.Twikoo comments plugin renderings.
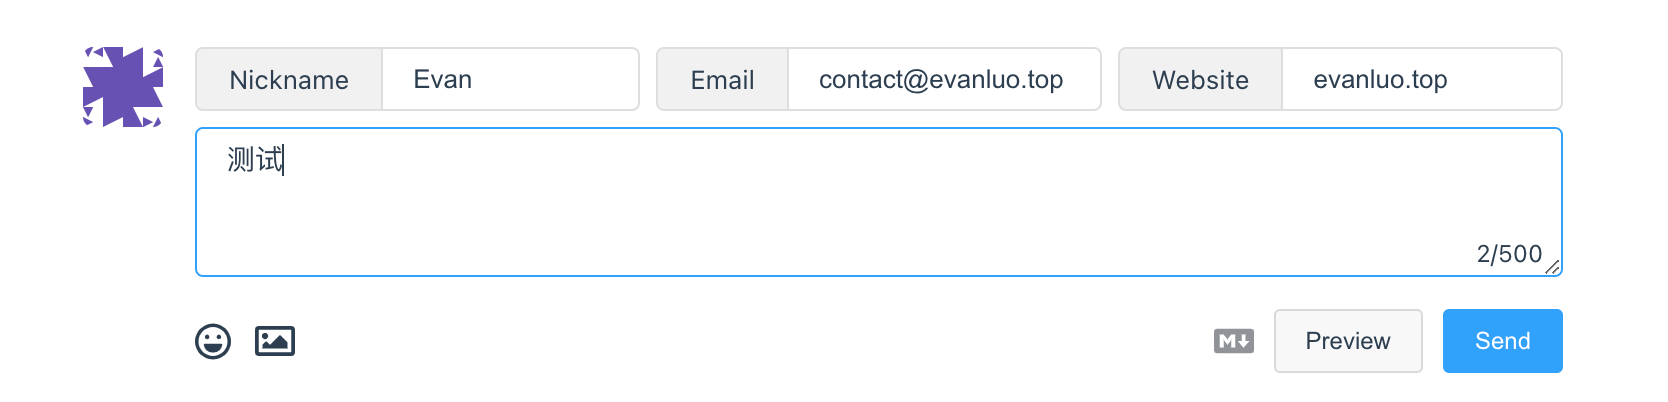
Screen Shot 2022-10-22 at 11.54.39 AM
Last updated